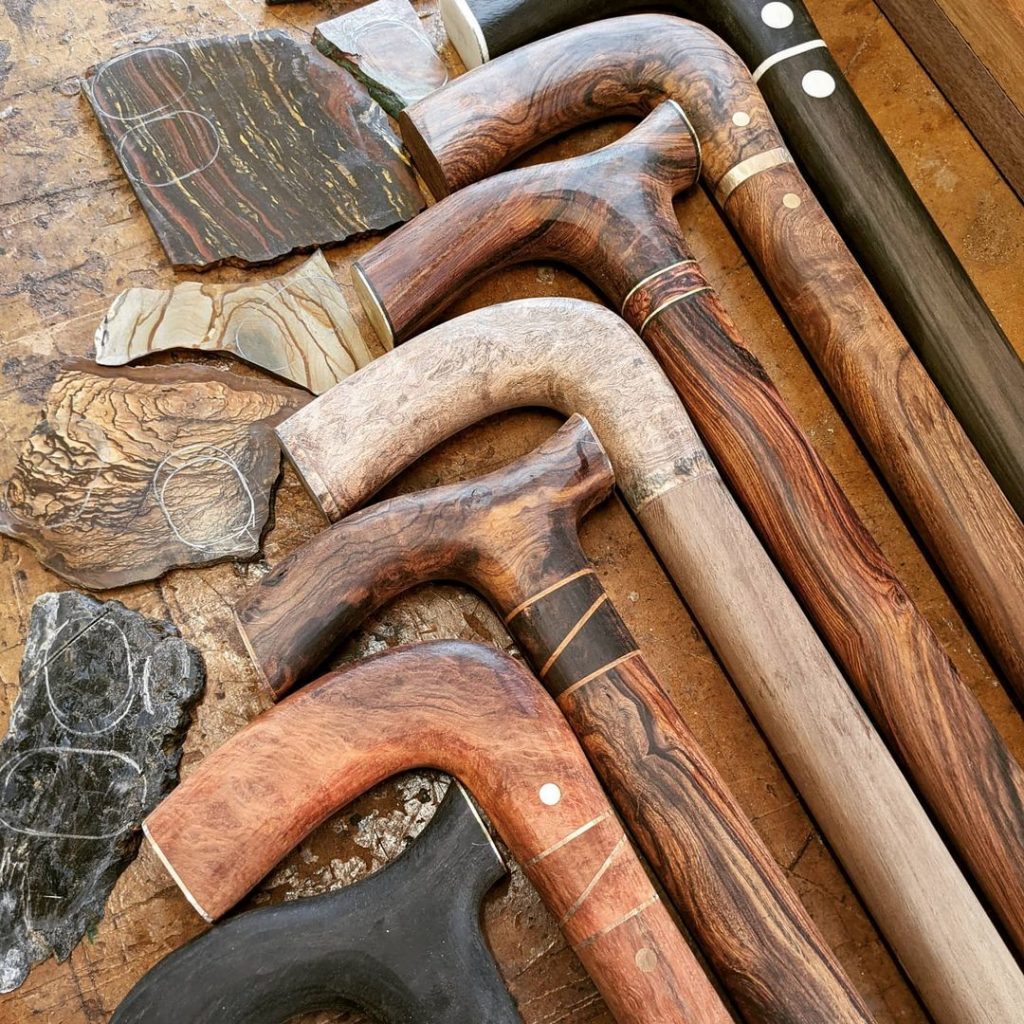
Selecting a Stick
Selecting a good stick is important. The wood selected will determine the strength, flexibility, and longevity of the stick. There are many popular options such as birch, elm, oak, ash, maple, or hickory. Each wood type has different characteristics. The availability of certain woods varies from place to place.
The stick should be aligned from top to bottom. It is difficult to find something in nature that is totally straight. As such, the stick does not need to be perfect. Treatment using a hot air gun will allow the wood to bend and harden into a straight line. The stick should be checked for rot, insect infestations, and knots. If the wood has been damaged significantly, it should not be selected. However, small natural scars from rot or insects can make wonderful and unique decorations on certain walking sticks. Knots can weaken the stick, but can also be sanded down.
The freshness of the stick is another consideration. If a stick is too fresh it will require considerable time to harden. It is important to never rip a branch from a live tree. This damages the natural environment and will only create problems as the stick will be too fresh. Large fallen branches that have aged a bit make for the sturdiest walking sticks.
Stick Length and Diameter
Trekking poles have the advantage of adjusting to different lengths. However, a walking stick is static in length and requires planning during construction. The exact length of the stick will vary depending on several variables including the terrain and the height of the user. A shorter stick should be used when hiking uphill or up difficult terrain since the stick will help with load-bearing pressure. A longer stick should be used in downhill situations because it provides better balance and increased control during the descent. On a flat surface, the perfect stick length would leave the arm parallel with the ground.
For general purposes, a stick that stands tall from the feet to the chin is suitable.
The diameter of the stick is important. The exact diameter needed will depend on the weight of the user and the type of wood selected. Typically, a heavier hiker will require a stick with a larger diameter. It should be noted that this will also increase the overall weight of the walking stick. Rosewood and hickory are very strong woods and support weight quite well. Ash is considered very weak. The diameter and size of the stick should be considered carefully.
Stripping, Straightening, and Hardening
All of the bark from the stick should be stripped off. The most common way to strip the stick bare is using a hawkbill pocket knife or another sharp utensil. Some woods require immediate stripping of bark such as Navajo willow. Others, like mesquite wood, need to be treated with sunlight for six months before stripping. The difficulty of bark stripping will depend on the season and the type of wood. If the stick is especially difficult, a pressure washer usually provides enough power to remove all of the bark. However, the nozzle for the pressure washer should be carefully selected and should not be stronger than 4,000 psi.
If the stick is too curvy, it can be straitened using a heat source. The most popular heat source for straightening sticks during woodwork is a hot air gun. The heat from the hot air gun is sufficient to remove most kinks from sticks. Another option is steaming, but the results can be mixed depending on the strength of the wood. Soaking the stick in hot water should be avoided – it is not a good alternative if dry heat or steaming is not available. It should be noted that heating the stick by hot air gun or steam typically causes some discoloration in the final product.
The hardening process is very important. Research the wood type before the hardening period because the hardening time needed can vary drastically. The most popular way to treat the stick during this period is with natural sunlight.
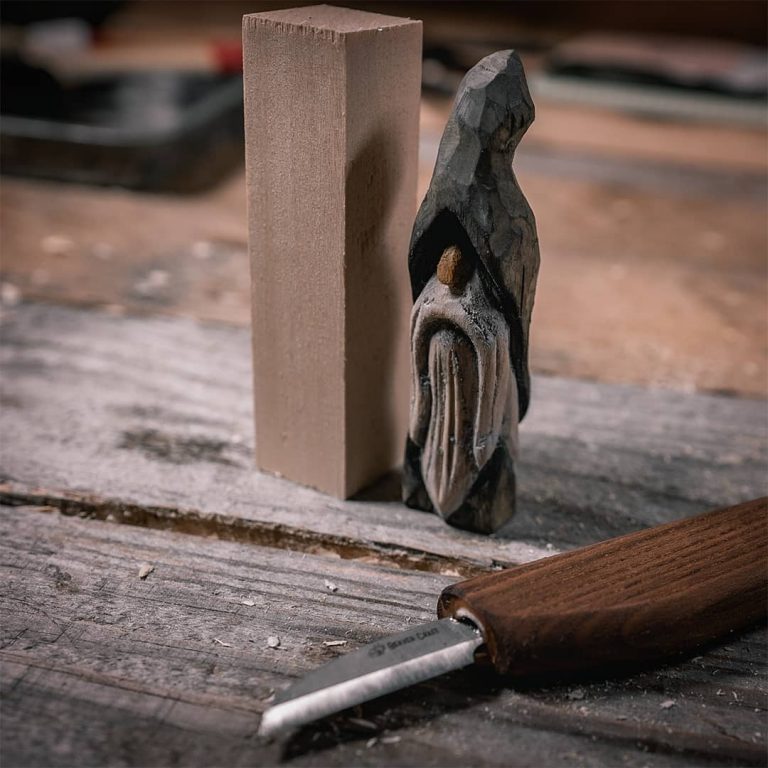
Finally, the stick should be sanded using sandpaper. This will assure a nice, smooth finished product.
Tips on How to Make a Walking Stick
– Add rubber, foam, or cork grips to the handle
– Attach a tip to the bottom of the stick for increased stability and control
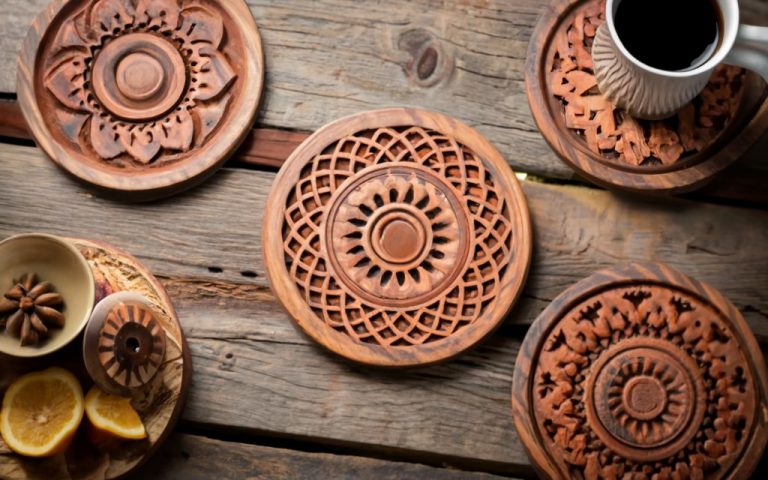
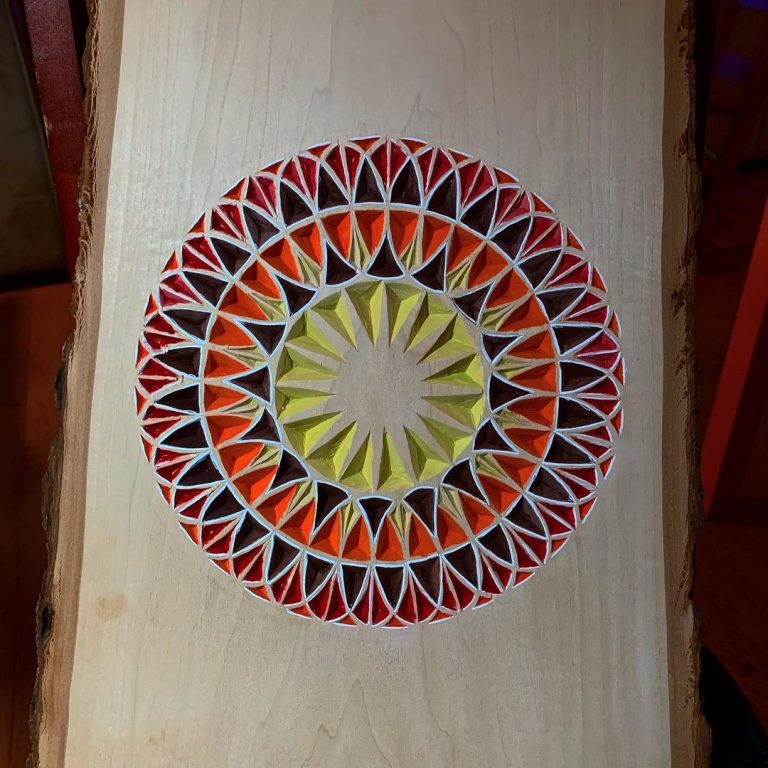
– Use a knife to carve unique designs and decorations on the stick
– Apply a finishing coat (such as spar varnish) to increase the overall longevity of the walking stick
I made a copy of a bedroom nightstand lamp. The bottom piece will be maple, and the top section will also be maple. I need to carve out a narrow space for the center portion of Black Walnut. What kind of carving tool should I use?
You could use a 1/8″ end mill for this small space. Is there a handle you’d like to add?
I’m not sure what tools to use for sanding the small carvings I do in mahogany. I use a Wecheer rotary grinding tool, but have worn three foot pedals and can’t control the speed because of that. Can someone recommend an alternative sanding equipment?
I’ve been using a 3M heavy duty hand sander that I received as a gift several years ago and, at the moment, it is my favourite.
It’s not too loud to use indoors and has different pads for rough or fine sanding but best of all it takes standard discs which are cheap (four hole)